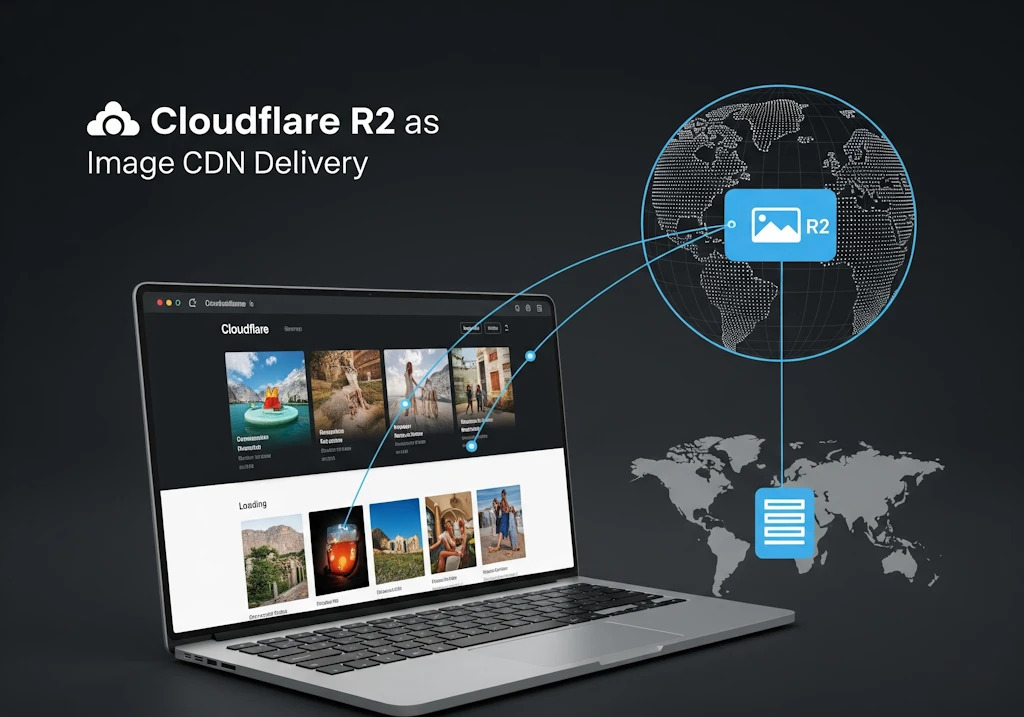
Implementing Cloudflare R2 as an Image CDN on your website involves a few steps, from setting up the R2 bucket to configuring your website to serve images from R2. Here’s a step-by-step guide to get you started:
Step 1: Set Up Cloudflare R2
- Create a Cloudflare Account (If You Don’t Have One):
- Sign up at Cloudflare and log in to your dashboard.
- Navigate to R2 Storage:
- In the Cloudflare dashboard, go to the “R2” section. If you don’t see it, you may need to enable it under “Workers & KV”.
- Create an R2 Bucket:
- Click “Create a Bucket” and give your bucket a name. This name will be part of the URL for accessing objects in your bucket.
- Ensure that the bucket is set to public access if you want your images to be publicly accessible.
Step 2: Upload Your Images to R2
- Upload Directly:
- You can upload images directly via the Cloudflare dashboard.
- Alternatively, you can use a script or a tool like
rcloneto upload multiple files.
- Organize Your Images:
- Consider organizing your images in folders within the R2 bucket for easy management.
Step 3: Configure Custom Domain for SEO-Friendly URLs
- Add a Custom Domain to Cloudflare:
- In your Cloudflare dashboard, go to “DNS” and add a custom domain or subdomain (e.g.,
cdn.yourdomain.com) that will serve your images.
- In your Cloudflare dashboard, go to “DNS” and add a custom domain or subdomain (e.g.,
- Create a Worker (Optional for SEO URLs):
- To serve images with friendly URLs, you can create a Cloudflare Worker. This Worker can map requests like
cdn.yourdomain.com/image1.jpgto the actual R2 object path.
- To serve images with friendly URLs, you can create a Cloudflare Worker. This Worker can map requests like
   export default {
     async fetch(request) {
       const url = new URL(request.url);
       const key = url.pathname.slice(1);  // Remove the leading slash
       const r2Object = await R2_BUCKET.get(key);
       if (!r2Object) {
         return new Response('Image not found', { status: 404 });
       }
       return new Response(r2Object.body, {
         headers: { 'Content-Type': r2Object.httpMetadata.contentType }
       });
     }
}- Bind the Worker to Your Domain:
- Go to “Workers” in Cloudflare and bind your Worker script to the custom domain (e.g.,
cdn.yourdomain.com).
- Go to “Workers” in Cloudflare and bind your Worker script to the custom domain (e.g.,
Step 4: Configure Your Website to Use the R2 CDN
- Replace Image URLs:
- Update the image URLs on your website to point to your Cloudflare R2 domain or the custom domain you configured (e.g.,
https://cdn.yourdomain.com/image.jpg).
- Update the image URLs on your website to point to your Cloudflare R2 domain or the custom domain you configured (e.g.,
- Set Up Caching:
- In the Cloudflare dashboard, configure cache rules to ensure that your images are cached at edge locations. This reduces load times by serving images from a location closest to the user.
- Enable Image Optimization (Optional):
- Use Cloudflare’s automatic image optimization tools, such as Polish or WebP conversion, to further improve performance.
Step 5: Test and Monitor
- Verify Image Delivery:
- Visit your website and ensure that images are being served from the R2 bucket via your CDN domain.
- Check Performance:
- Use tools like Google Lighthouse or GTmetrix to test your website’s performance and ensure that the images are loading quickly.
- Monitor Usage:
- In the Cloudflare dashboard, monitor your R2 usage, requests, and other metrics to optimize costs and performance.
Example Implementation:
If you want to serve an image from R2 using a custom domain like cdn.yourdomain.com, the image URL might look like:
https://cdn.yourdomain.com/images/photo.jpgWhere images/photo.jpg is the path to the image within your R2 bucket.
By following these steps, you can effectively use Cloudflare R2 as a cost-efficient and scalable Image CDN for your website.